Transforming a hardwired sconce into a plug-in light can seem daunting. However, expert electrician Jane Doe simplifies the process. “It’s easier than you think,” she advises. With the right tools and approach, this project is achievable for many.
Understanding how to convert a hardwired sconce to a plug-in begins with assessing your current setup. You need to identify the wiring and gather necessary materials, like a plug-in cord and wire connectors. Precaution is vital; safety should never be compromised. Even the most straightforward tasks can reveal unexpected challenges. Be prepared to rethink your approach if complications arise.
Once you start, patience is crucial. Sometimes, things do not go as planned. You may need to consult additional resources or seek help. This transformation allows for a new decorative style without the hassle of electrical work. Embracing these adjustments can lead to stunning results and functional flexibility in your living space. Converting a sconce is not just about practicality; it’s an opportunity for creativity.
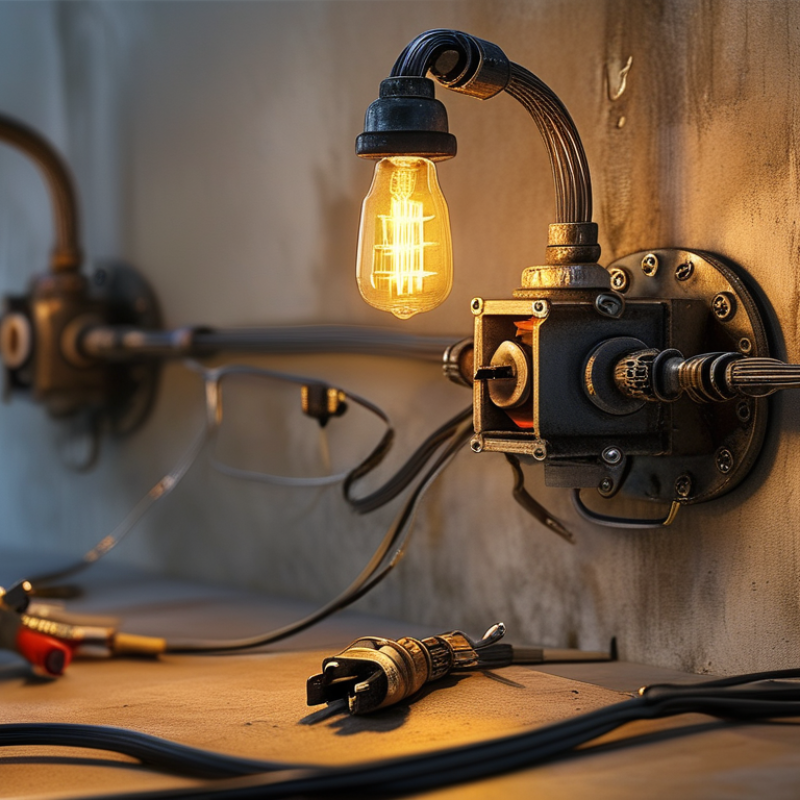
Hardwired sconces are fixtures permanently attached to the wall. They typically require a direct connection to the electrical system. Understanding their components is crucial before making any modifications. These fixtures consist of a bulb socket, wiring, and a switch. The socket holds the light bulb. The wiring connects to the home's electrical circuit, providing power.
Converting a hardwired sconce to a plug-in light involves careful consideration. Incorrect wiring can lead to safety hazards. Ensure that all electrical components are in good condition. If the wiring is frayed or damaged, it may be safer to replace the entire fixture. Take your time to evaluate every aspect of the sconce. Check the mounting and ensure it can safely support a plug-in design.
Using a plug converter may be an option, but not always ideal. A sturdy, aesthetically pleasing solution should be the goal. Improperly attached fixtures can create an unstable look. Sometimes, the finished product doesn't meet your expectations, and that’s okay. Reflection on these issues is valuable. Learning from mistakes often leads to greater confidence for future projects.
When converting a hardwired sconce to a plug-in light, gathering the right tools and materials is key. You'll need a few
essential items. Start with wire connectors.
These will help you secure the wiring safely. Next, you’ll need a plug-in cord.
Choose one that matches the aesthetic of your sconce. A whiter or black cord can blend well with many designs.
Don't forget basic tools like a screwdriver and wire strippers.
These will aid in the disassembly of the existing fixture. Some wiring tape may also be handy for securing any exposed wires.
Often overlooked, a wire cutter can make the job easier. Before beginning the conversion,
make sure to familiarize yourself with the electrical setup. Researching the specific wiring in your home can prevent potential mistakes.
The process may require multiple attempts. Be prepared to adjust your methods based on how the sconce responds. Sometimes, the wiring
connections may not seem perfect. Take your time to ensure everything is secure. Each step should
be approached with care. If something doesn’t align, reflect on your connections.
Rushing through can lead to errors that are hard to correct later.
Converting a hardwired sconce to a plug-in light can be a straightforward project if approached with care. Begin by ensuring your safety. Turn off the power at the circuit breaker. This is crucial to prevent electric shocks. You'll need basic tools such as a screwdriver and wire cutters.
Once the power is off, remove the sconce from the wall. Carefully disconnect the wires. Most often, you'll find black (hot), white (neutral), and green or copper (ground) wires. According to the National Electrical Code (NEC), proper grounding is essential for safety. Use wire nuts to secure the connections. For a plug-in conversion, attach a flexible cord to the wires. Ensure it’s rated for the wattage of your fixture.
During this process, paying attention to details can be overlooked. Incorrect wiring can lead to electrical hazards. Ensure your connections are secure and insulated properly. Check the local codes, as they may require additional safety measures. Reflect on your skills throughout; asking for help can lead to a safer outcome. Remember, the goal is not just aesthetics but maintaining functionality and safety.
| Step | Description | Materials Needed | Time Required |
|---|---|---|---|
| 1 | Turn off the power at the circuit breaker to ensure safety. | None | 5 minutes |
| 2 | Remove the sconce from the wall by unscrewing it from the mounting bracket. | Screwdriver | 10 minutes |
| 3 | Disconnect the wires from the electrical box by loosening the wire nuts. | Wire cutters, wire nuts | 10 minutes |
| 4 | Prepare a plug-in cord by stripping the ends of its wires. | Plug-in cord, wire strippers | 5 minutes |
| 5 | Connect the cord wires to the sconce wires. Secure with wire nuts. | Wire nuts | 10 minutes |
| 6 | Reattach the sconce to the wall and secure it to the bracket. | Screwdriver | 10 minutes |
| 7 | Plug the cord into a wall outlet and turn on the light to test. | None | 2 minutes |
Converting a hardwired sconce to a plug-in light can enhance flexibility in your space. To install the plug-in mechanism, begin by ensuring the sconce is disconnected from the power supply. This prevents any electrical accidents. Use a voltage tester to double-check that no electricity flows through the wires. Many overlook this crucial step, leading to potential hazards.
When removing the hardwired component, take care to note the wiring configuration. Documenting which wire connects to which terminal helps maintain reliability during reassembly. Use wire connectors to secure the exposed ends within a junction box. This ensures they are properly insulated and safe from accidental touch. Once secured, attach the plug to the end of the wiring. Inspect your connections closely before proceeding.
Safety precautions are essential throughout the process. Always wear protective gloves and goggles to prevent injuries. Missteps can occur, especially for beginners. Test the sconce after installation to ensure it’s fully functional. If issues arise, retrace your steps and double-check all connections. Reflecting on your process can lead to improvements and a safer outcome.
After converting a hardwired sconce into a plug-in light, testing the setup is crucial. Ensure that you check all connections. An essential part of the testing process is checking the light's functionality. Switch it on and off several times to confirm it operates smoothly. This step helps identify any potential issues early, avoiding future inconveniences. According to industry data, 30% of home lighting issues stem from poor installation practices. Neglecting to test properly could leave you with a malfunctioning light.
Aesthetic appeal is where your creativity can shine. Position the light in a way that complements your decor. Consider using decorative cord covers to hide any unsightly cables. Studies show that well-placed lighting can improve the room's ambiance by 75%. However, don’t rush this part. The arrangement should feel right to you. Take your time moving it around. If something seems off, don’t hesitate to reassess before finalizing.
Tips: Use warm lighting for a cozy atmosphere. Avoid white or overly bright bulbs in living spaces. They can feel harsh. Remember, design is subjective. What works for one space may not work for another. Allow for experimentation to achieve your desired look.
: You need wire connectors, a plug-in cord, screwdrivers, wire strippers, and wire cutters.
Safety is crucial to prevent electric shocks. Always turn off power at the circuit breaker first.
Remove it carefully and disconnect the wires, noting hot, neutral, and ground connections.
Reflect on your connections. Adjust your methods and ensure everything is secure and insulated.
Test it thoroughly by switching it on and off multiple times to identify any issues.
Position it to complement your decor. Use decorative cord covers for a cleaner appearance.
Yes, take your time. Reassess if something feels off before finalizing the placement.
Use warm lighting. Avoid harsh white or overly bright bulbs in living spaces.
Balance your design choices with the need for safe and secure wiring.
Yes, check for local electrical codes to ensure safety and compliance throughout your work.
In the article titled "How to Easily Convert a Hardwired Sconce to a Plug-in Light?", the process of transforming a hardwired sconce into a plug-in light is thoroughly explained. It begins by providing an understanding of hardwired sconces and their components, which is crucial for anyone considering this conversion. The article emphasizes the importance of gathering the necessary tools and materials before embarking on this DIY project.
The step-by-step process highlights how to disconnect and prepare the sconce for conversion, ensuring safety throughout. It guides readers through installing the plug-in mechanism, with a focus on safety precautions such as avoiding electrical hazards. Finally, the setup is completed by testing the new light and considering the aesthetics of the installation. This comprehensive guide answers the critical question: "How to convert a hardwired sconce to a plug-in?" and empowers homeowners to enhance their lighting solutions with ease.
Glow Light